Release of EC2 Cloud Upload feature
We just released the new EC2 cloud upload feature that allows you to upload your EC2 images to Amazon Web Services (AWS) from OBS. ![]()
How does it work?
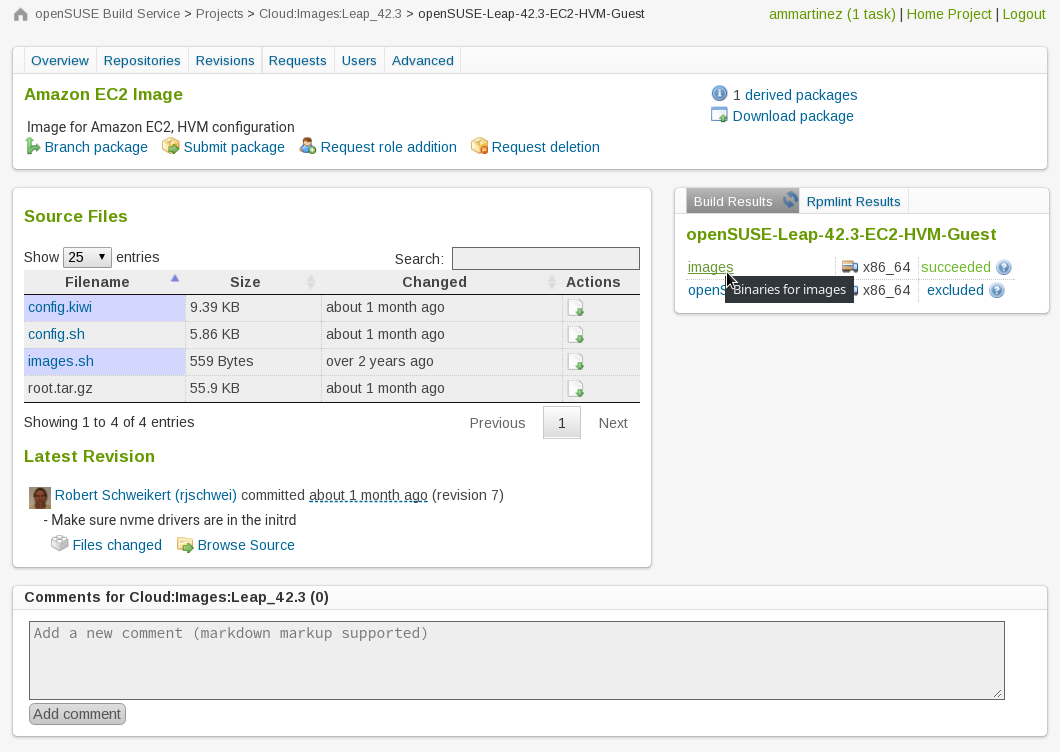
In the package view of an image (your own or any other you find in OBS), you can check if it was successfully built:

Once it is built, you can click the image link in the package view,
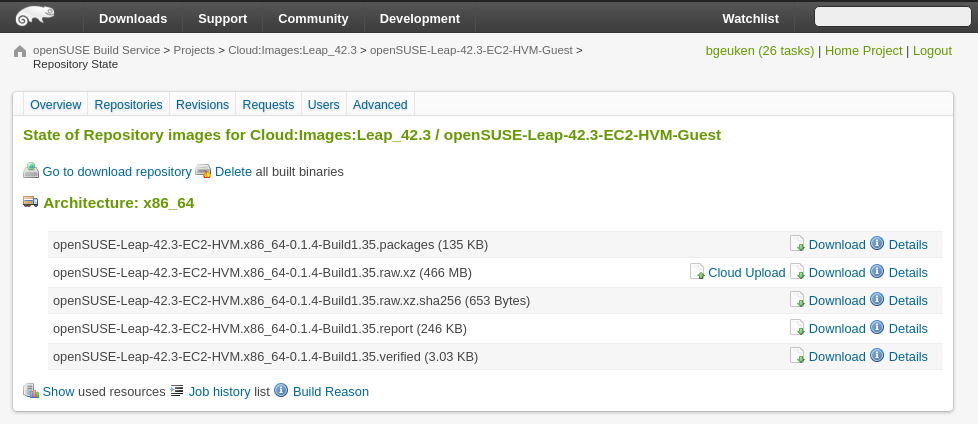
which will take you to the binaries page:

On the binaries page you find all binaries and files that got created during a build for a certain repository and architecture.
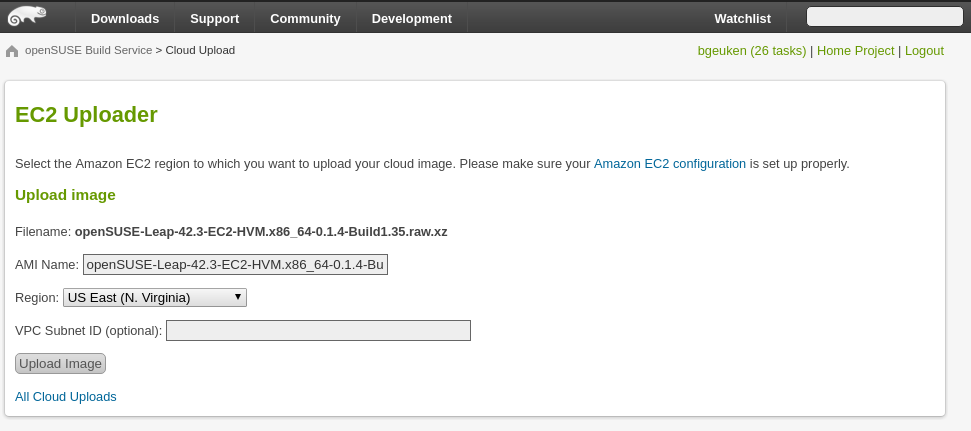
If one of these files is an EC2 image, there is a Cloud Upload link, which takes you to the EC2 Uploader page.

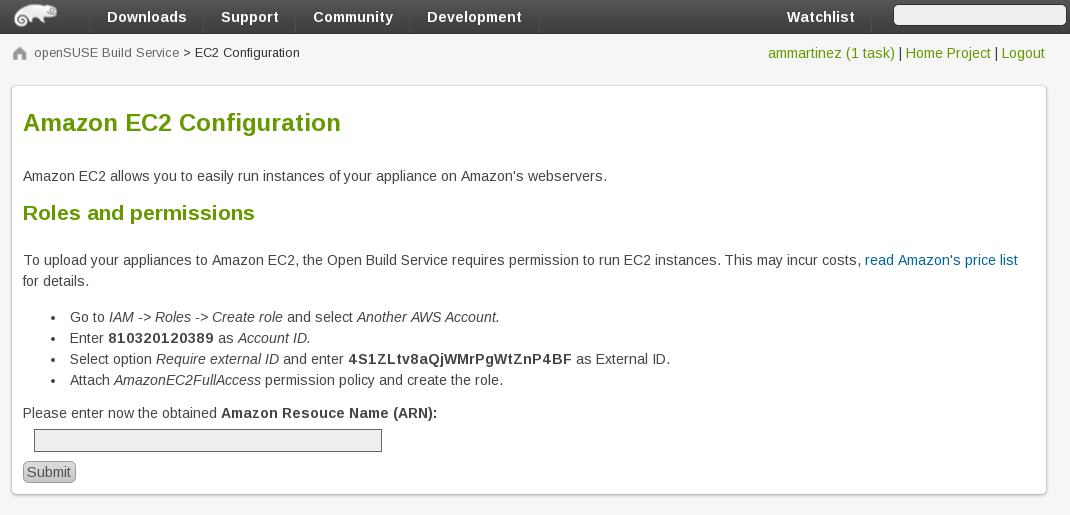
If you haven’t configured your account yet, you can use the link in the EC2 Uploader for the Amazon EC2 configuration.
Check the Configuring Amazon EC2 credentials section for more details.
If your account is already configured, you can choose the AMI Name, the region you want to upload to and optionally the VPC Subnet ID.

By clicking Upload, the image upload process will start and you will get redirected to the All cloud uploads page:

When it finishes, you will see the AMI of your uploaded image in the details column. You will also be able to see it in your Amazon account:

Configuring Amazon EC2 credentials
In order to be able to upload EC2 images from OBS to AWS you need to give OBS permissions,
by creating an Amazon Resource Name (ARN) and adding the OBS account to it.
You can do this on the Amazon EC2 configuration page, where it is explained step by step. You can find more information about how to use an external ID when granting access to your AWS resources in AWS documentation.
Since this might incur costs, we recommend you to read Amazon’s price list.

In case you don’t want to build an EC2 image from scratch you might want to check out our image templates page.
There you can find base templates, including EC2 images, provided by other users and projects. ![]()
Try it out and enjoy running your images in the ![]() !
! ![]()
